This is the perfect time of year to begin making wooden ornaments to hang around your home. These could be put on the tree, hung from the fireplace, or included in a wreath. In fact, there is nothing to limit you besides your imagination!

Our 3 Favourite Wooden Ornaments
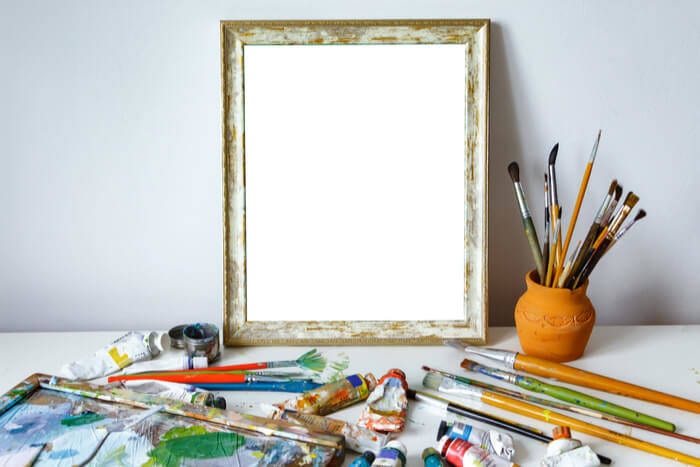
Wooden Frame Ornaments
This is one of the easiest on the list, making it perfect for children and adults. Making a wooden picture frame as an ornament is a touching gift or stocking filler. Who doesn’t like receiving photos of themselves and their loved ones?
Materials
* Acrylic paint
* Paint brushes
* Photo(s)
* Bells for jingling
* Ribbon
* Mod podge (or glue)
* Eye hooks
* Wooden plaques (you can find these at any craft store, and even supercenters)
Instructions
1. Choose a festive paint colour, and paint the front and sides of the plaque. Since the photo will go in the middle of the plaque, don’t worry about painting that area. Let the paint dry.
2. Once the paint on the front is dry, turn the plaque over and paint the back. You can do this the same colour or different colour. You can even paint a winter scene! Let this paint dry.
3. If you want to add any festive scrapbooking paper behind your photo, this would be a good time to trim it. Technically, you can use any paper you’d like, including wrapping paper!
4. Cut the photo to the size you want it to be. How much painted wood or paper you show is completely up to you and your style.
5. Once all the paint is dry, it’s time to secure the paper and photo. Using mod podge or glue, cover the area where you will be applying the paper. Attach the paper.
6. Cover this with another layer of mod podge and stick on the photo.
7. If you are using mod podge, go ahead and paint a thin layer across the photo itself. Do not do this if you are using glue.
8. Let everything dry.
9. Screw the eyehook in the top of the wooden ornament, attach the ribbon, and add a bell if you’re in the spirit!
Twiggy Tree
Just about anyone has the ability to make this ornament. The materials are simple and inexpensive, so you can make enough to decorate a whole wreath or tree. This is a great project to do as a family or with a group of children.
Materials
* A handful of wider twigs
* A handful of thinner twigs

* Coloured buttons, candies, pieces of paper, fake jewels, etc.
* Hot glue
* Hemp or twine
Instructions
1. Take 3 of the wider twigs and make a tall triangle. This is the top of the Christmas tree, and it may require you to break some of the twigs. However, this can be as large as you’d like.
2. When you are satisfied, glue the top part of the tree together. Add a trunk, which should be a slightly squatter twig. Let it all dry.
3. Once everything has dried, pick out some smaller twigs to attach diagonally through the triangle. This is supposed to look like a garland. You can add as many twigs as can fit and look good.
4. Hot glue these twigs on when you are satisfied.
5. Now it’s time to glue on your bling. You can add 1, 2, or more per branch. Hang some on the bottom of the tree while you’re at it!
6. Let the bling dry and get your hemp or twine ready. Cut this as long as you would like it to be once tied around the top of the tree. If you’d like, you can replace the plain brown string with a colourful ribbon.
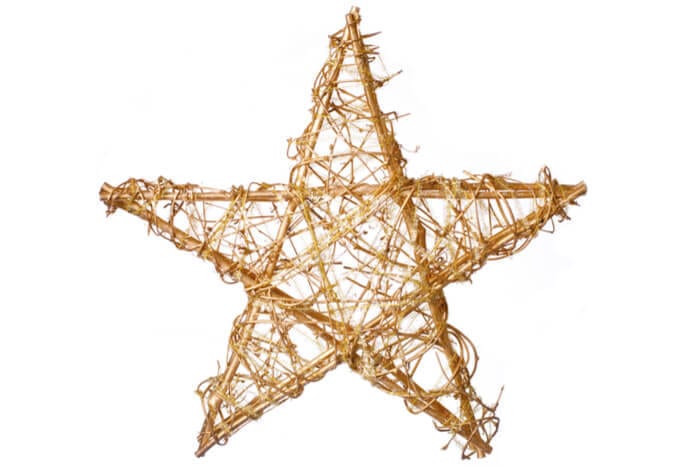
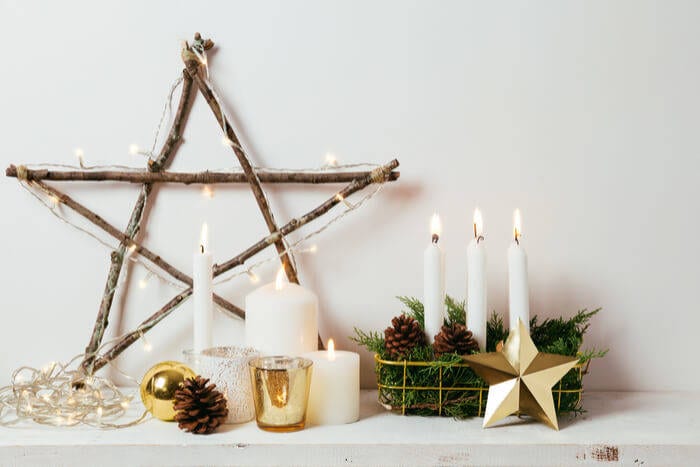
Twiggy Stars
These are some of our favourite ornaments of all time. They are simple, inexpensive, and classy. If you were to buy the equivalent in a store, it would cost you at least £5. The best part is that you decide the size and the details. In this way, each twiggy star can shine its own special light!
Materials
* Handful of twigs around the same width
* Fake snow you can spray or silver spray paint
* Hot glue
* Silver eye hooks
* Small evergreen branches (or one large branch cut into pieces)
* Bell or berries
Instructions
1. Cut 4 twigs so each are 2 inches long.
2. Cut 4 other twigs so each are 4 inches long. You can change the size of the twigs, just keep the ratio at 1:2.
3. Alternate twig sizes and place them in the shape of a star. The shorter twigs should be across from each other and the larger twigs should be across from each other.
4. Once you have everything in place, take some hot glue and attach all 8 sticks in the middle. If they don’t fit together well, just do the best you can. The middle portion will be covered by the evergreen.
5. While the glue is drying, cut the pieces of evergreen to be about 4 inches long. You will lay these across the longer twigs of the star. Cover one of the branches with the snow or spray paint. Leave the other one green.
6. After the glue and paint/snow have dried, it’s time to attach the evergreens. Simply lie them across the long pieces of the star and have them meet in the middle. Hot glue them in place by putting a tiny bit on the front. Then, turn the whole thing over and put a glob of glue on the back. Let dry.
7. At this point, you can add the berries or the bell on the front. This is completely optional, and you can put anything you’d like on the front.
Wishing to know more about already prepared and protected wood buildings visit our website.