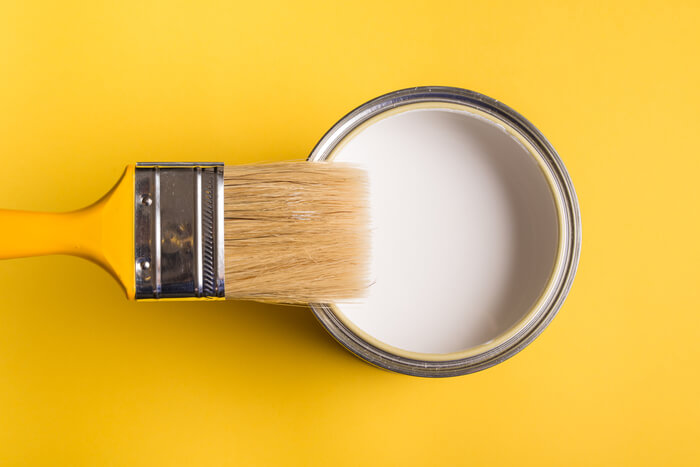
Painting houses may look like an easy job, more so when you see people doing it in videos. It seems like all you have to do is grab a brush, dip it in paint and get to work. Well, you could do this, but without the necessary preparations, the work would look sloppy. While you can treat wooden buildings like conventional homes, you get better results when you focus on the material in use. Wood differs from other materials, and you must account for this in your preparations. Below, you will find tips essential to painting a wooden house.
Wood Preparation
Here is the thing. While paint will give the house a new look, it will not do much for some imperfections in the wood. An example would be where the wood has some cracks, holes, or other such physical weaknesses. In this case, the house would still show imperfections, and the work done would be far from perfect. Instead of doing half the work, it would be better to fix these problems as opposed to using paintwork as a band-aid. While you may think that paint will cover up the eyesores, it could even work in making them more prominent. How then should you prepare the wood?
Scraping
Well, you should start by assessing the presence or lack thereof of old paint on the wood. Where any is present, you should work on removing this as it will affect the look of the new coat. You can do this using several tools, including a putty knife. Precision is not essential in this case, as this is just but a step in the preparation process. Later on, you will use sandpaper to get rid of any paint that remains on the surface.
The scraping process depends a lot on the kind of finish that is on the wood. For example, you can use chemical strippers when you are working with an oil-based finish. But when working with another surface, you start with scraping before using TSP to get rid of any loose paint. In all cases, you will need to rinse off the solution used. The focus should be on cleaning the wood before sanding it such that paint can adhere to the wood with ease. In some cases, you will not need to strip the existing coat if another coat can adhere to the same. You might need a primer for this to work, though.
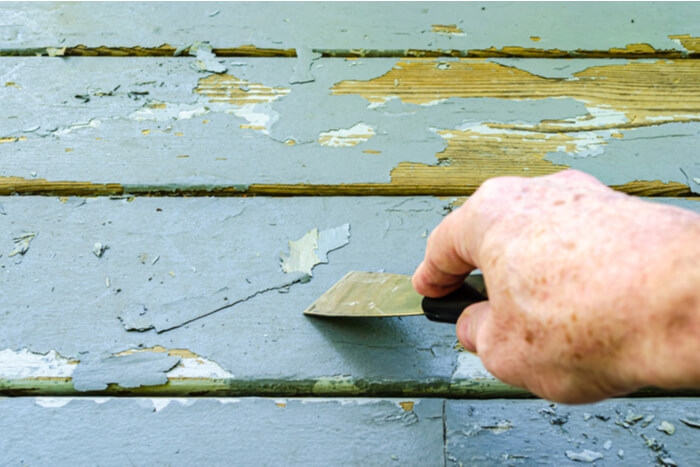
The important thing is to assess the coat in place and decide if you can work with it or not.
Filling
Next, you need to look out for any cracks or holes in the wood as you need to fill these before painting the wood. For this, you will need some wood putty, and getting a high-quality filling is of the essence. Proceed to fill the spaces with the putty such that you use more than is necessary. You can deal with the protrusions later by sanding them down once they have hardened. In this way, you will have a smooth finish. It beats using less than what you need, only for you to end up with holes and repeating the process. For small holes, you can use a joint compound which you should allow to dry before sanding. As for cracks, you will need to use caulk.
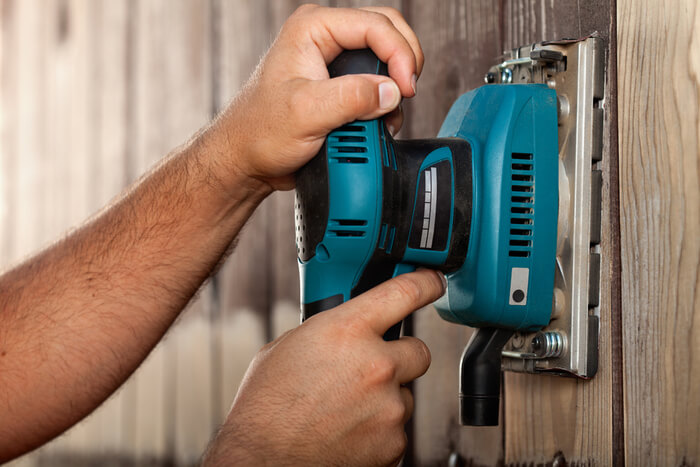
Sanding
At this point, not only have you removed the old coat, but you have also dealt with any weaknesses in the wood. You now have an uneven surface that you need to smooth before proceeding with the painting. Use sandpaper on all surfaces on which you have worked, as this will help in removing old paint. It works in preparing the wood for priming. Note that you should work with the grain of the wood, instead of against it, for best results.
Cleaning
You will have a lot of residue at this point which you need to clean as it can get in the way of a good paint job. Vacuuming is an excellent way to deal with dust. Alternatively, you can use a damp cloth to work on the wood. Leave the surfaces for a while such that they dry completely. If you attempt to prime or paint the wood at this point, the results will not be ideal.
Segmenting
As much as you may be working on a large area, you might not want to get paint on everything. Now is the time to tape any parts that you do not want to touch with the paint. Note that if you're going to work with a mix of colours, the taping should take place after the priming.
Priming
Why should you prime the wood? Well, this step is essential, where you want to achieve a uniform look. All you need is to apply one coat of primer, and the results will show once you paint the wood. Sometimes, priming will lead to the rising of wood grains. When this happens, perform some sanding with fine sandpaper as this will deal with this issue. Ensure that you wipe off the residue before working on the wood again. The colour of the primer will ultimately affect how good the paint job looks. For dark hues, use a grey primer and opt for a white one when working with bright colours.
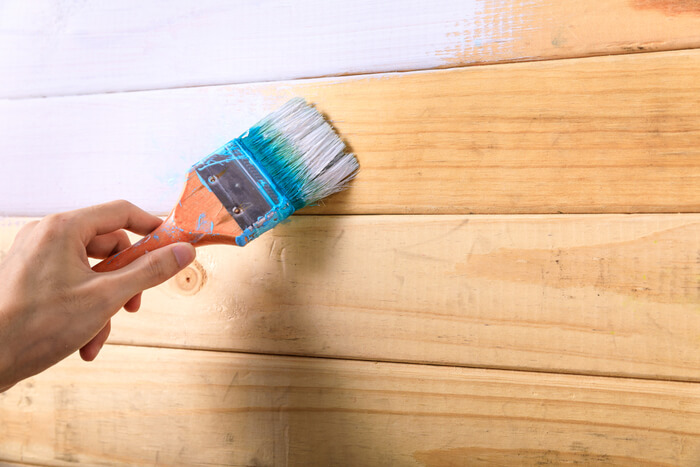
Painting
After all these preparations, you are now ready to work on painting the house. Start by selecting a paint based on its formulation and sheen as well as getting high-quality brushes. Remember to work from the top as you move down before finishing off with sealing the paint.
With regular painting and maintenance work in play, keeping your log cabin in good shape should be easy. Note that the ease of maintenance also depends on the quality of the building in question. At Quick Garden, we provide sturdy buildings built to last for years on end. If you would like more information about our wooden houses, click here.