A carport is a covered or sheltered structure which is commonly used to offer limited protection and security to vehicles, especially cars. Cars also need protection from rain and snow so that they last for a much longer period of time. It can either be attached to the wall of your house or it can be free-standing all by itself. Compared to other structures, a carport isn’t necessarily built to have four walls. In fact, it only has one or two.

A carport is often made of metal – most often steel or aluminium so as to give optimum protection to your cars from the harmful rays of the sun and the hazardous effects of heavy storms. And since it is only made of a frame and a covering, this gives you an open feel. Moreover, building a carport is proven to be more economical than building an extension to your garage. So, if you own a car, trailer, van or boat and you need to provide it with excellent protection then a carport simply makes a great solution.
The question is whether you capable of making your own carport in your home. The fact is that building a structure often requires the aid of a professional. Hiring a professional or a contractor to build a carport for you is possible as long as you can shoulder and afford the fees they incur. But if you are on a tight budget or you simply want to make savings out of this project then you can just do it yourself.
If you take the time to explore, you will be delighted to find out that there are actually many resources that aim to teach a person to make this or that particular thing or structure. What is even more exciting and interesting is that these resources teach you the DIY way, so you need not to think and worry about the price that you will have to spend on the labour costs of your project.

It only takes five steps to help you build and construct your own carport and they are as follows:
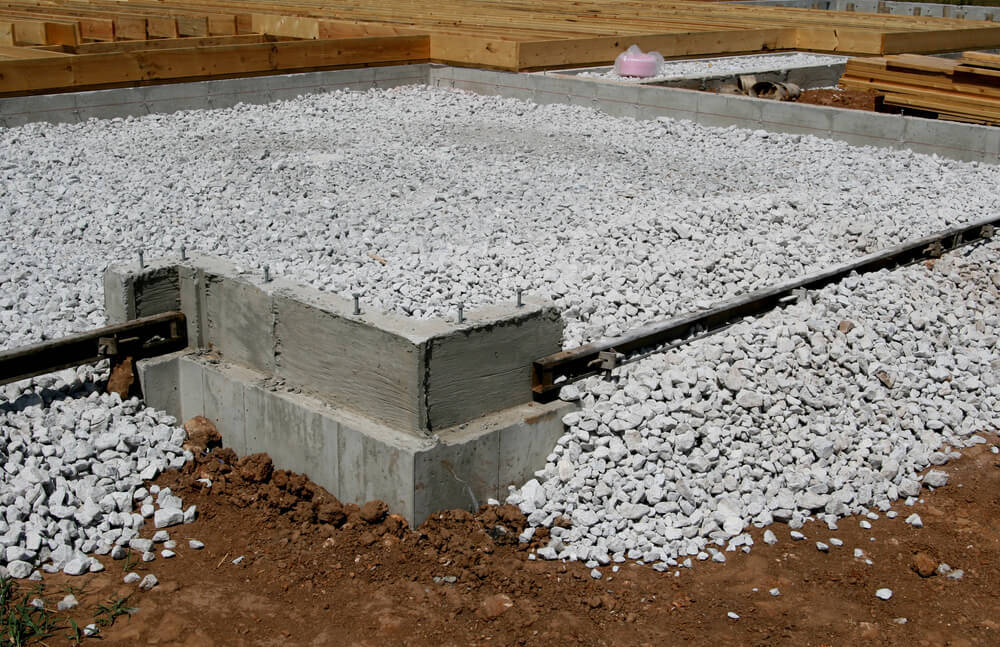
1. Prepare the Ground
The first thing that you need to consider when preparing the ground is to get the necessary building permits. This is easy by simply checking your local or city planning office to ensure that your project is up to the code. Next, you need to make sure that all construction materials needed for the realization of the project have already been purchased. The most common material used in the construction of this kind of structure is wood or metal. Feel free to customize the design and use any material that is available and affordable. If you want to use wood then make sure that you pick a pressure-treated lumber. In you want to use metal then you should choose the galvanized type.
Preparing the ground for your carport project also entails measuring the ground. For an average car you need to measure at least 4.9 metres or 16 feet long and 9 feet wide. A rectangle should be plotted on the ground. Basically, you need six posts, one for each corner of the rectangle and two for each of the idle portion of the rectangle’s length. It is important to level the ground whenever necessary. However, if you are thinking about building a carport on an existing concrete pad then it is simply practical and appropriate. You should also pour ground cover whenever necessary. The best way to do this is to pour concrete or simply build it atop of an existing concrete. You should also consider using a prefab carport kit to help you simplify your project.
2. Build the Beams
The first thing that you need to do is to dig holes for the posts. Each hole should be two feet deep or even deeper when you want a more stable structure. Once you are done with the holes you should set the six posts into them. Don’t forget to pour six inches deep of concrete into the holes before setting the posts then continue pouring until the holes are filled. Fasten the front and the back beams first, then followed by the side beams. They should be fastened quite well to ensure optimum security of the structure, especially if you live in a windy or snowy place with severe climates.
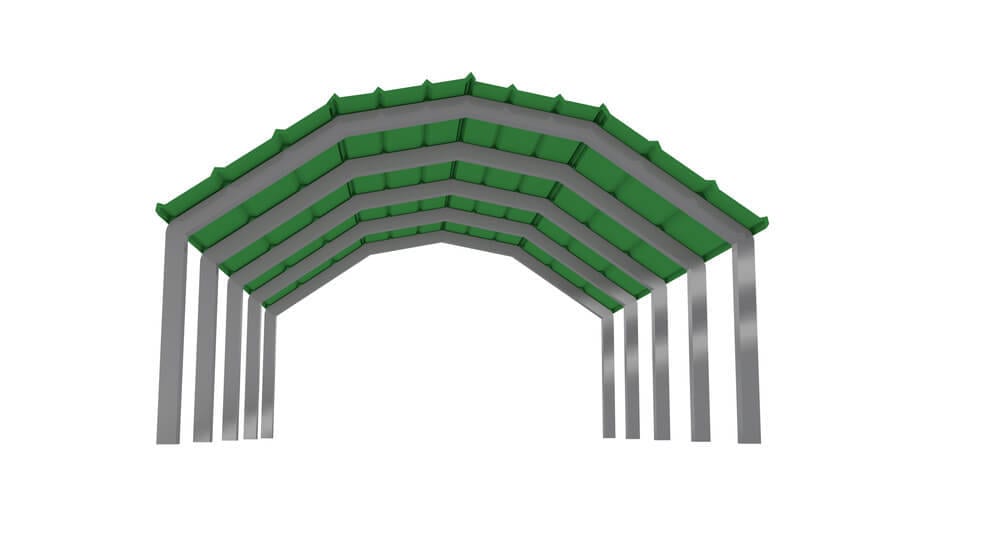
3. Build the Roof
The next thing that you should do is to fasten the rafters to the side beams. Rafters often measure 2x4x10 feet and they serve to provide support to the roof. Fastening the rafters can either be done via the hanger method or the notch method. In either case, the back and front rafters should be fastened with the back and front beam while the remaining rafters should be arranged equidistantly from each other. Next, you need to fasten the plywood roof boards to the rafters.
4. Checking the Structure’s Stability
When you are done with the roofing of your carport, you should take the time to check the stability of the structure. Inspect all portions and all should be quite solid. Apply an excessive amount of movement to the structure and if you think that the carport requires more strength then you will have to add braces as reinforcement, enhancing its strength effectively.
5. Finishing the Job
For the finishing touches of your carport, you need to caulk the plywood roof seams, fill the gaps between the boards to keep the elements out. Make the surface as waterproof as possible before shingling it. Fasten the shingles on top of the plywood roof elements then reinforce the joints with metal plates. Stain or paint the wood elements, increasing their longevity in the process. It is a good idea to restrain the structure in a regular manner to keep the life of the structure up. Take the time to revisit your structure periodically to determine and catch up with repairs before they become serious enough that could create a major problem.